


If you’ve always wanted to bake your own bread but felt intimidated by the process, this No-Knead Dutch Oven Bread is about to change everything. Made with just 4 simple ingredients, flour, water, yeast, and salt, this recipe produces a stunning artisan-style loaf with a crispy, golden crust and a soft, airy interior, all without any kneading whatsoever.
The secret is the Dutch oven (or any heavy lidded pot), which traps steam during baking and replicates the conditions of a professional bread oven right in your kitchen. Whether you’re a complete beginner or a seasoned home baker, this is one recipe you’ll come back to every single week.

No-Knead Dutch Oven Bread with 4 Ingredients
16
slices20
minutes1
hour165
kcal30
minutes1
hour50
minutesEasy homemade no-knead bread baked in a pot with only 4 ingredients. Crispy crust, soft interior, and perfect rustic texture.
Ingredients
1050 g 7 cups All-purpose Flour
750 g 3 cups Lukewarm Water
14 g 1 tbsp Dry Yeast
1 1/2 tbsp 1 1/2 tbsp Salt
Sesame Seeds (optional)
How to make Dutch Oven Bread
- In a large bowl, combine the water and yeast.
- Stir briefly.
- Add the flour and salt.
- Mix well until you have a sticky dough.
- Cover the bowl with a towel and let rise in a warm place for 30 minutes.
- Prepare for Baking
- Preheat the oven to 220°C / 430°F (conventional heat).
- Place the empty pot (or Dutch oven) inside the oven so it heats as well.
- Transfer the dough onto a floured surface.
- Work the dough very lightly just to deflate it.
- Stretch the dough slightly and fold the edges toward the center.
- Transfer onto parchment paper and shape into a loaf.
- Carefully place the dough into the hot pot.
- Spray the surface lightly with water and optionally sprinkle with sesame seeds.
- Baking
- Cover with the lid and bake for 30 minutes at 220°C / 430°F.
- Remove the lid, reduce temperature to 180°C / 350°F, and bake for another 30 minutes.
- Remove from the pot and allow the bread to cool completely.
- Alternative
- This recipe can also be baked in a Dutch oven or clay baker instead of a regular pot.
Did you make this recipe?
Tag @georgezolis on Instagram and hashtag it with #georgezolis
Like this recipe?
Follow @gzoliskitchen on Pinterest
Γίνετε μέλος της Ομάδας μας
Ακολουθήστε τις Μαγειρικές Απολαύσεις στο Facebook
Why No-Knead Dutch Oven Bread Is the Easiest Bread You’ll Ever Bake
Homemade bread has a reputation for being complicated, time-consuming, and unforgiving. This recipe is here to prove all of that wrong. No-knead Dutch oven bread is the great equalizer of home baking – it asks almost nothing of you in terms of skill or equipment, yet delivers a loaf that looks and tastes like it came from an artisan bakery. Crackly, golden crust. Soft, chewy, open crumb. The kind of bread that makes your kitchen smell incredible and your family gather around the table.
The technique was popularized in recent years for good reason: it works, it’s reliable, and it requires only four pantry staples you almost certainly already have. No stand mixer. No bread machine. No shaping expertise. Just a bowl, a spoon, some patience, and a heavy pot.
The Science Behind No-Knead Bread
Traditional bread recipes call for kneading to develop gluten – the network of proteins that gives bread its structure and chewy texture. Kneading works by physically aligning those proteins into long, elastic strands. No-knead bread achieves the same result through time rather than effort. When the dough rests, the gluten develops on its own, slowly and naturally, without any help from your hands.
This is why even a short 30-minute rest makes a significant difference. The dough transforms from a shaggy, rough mixture into something more cohesive and elastic, ready to be shaped and baked. For an even more developed flavor and texture, you can extend the rise time to several hours or even overnight in the refrigerator – the longer the fermentation, the more complex and tangy the flavor of the finished loaf.
Why You Need a Dutch Oven (or Heavy Pot)
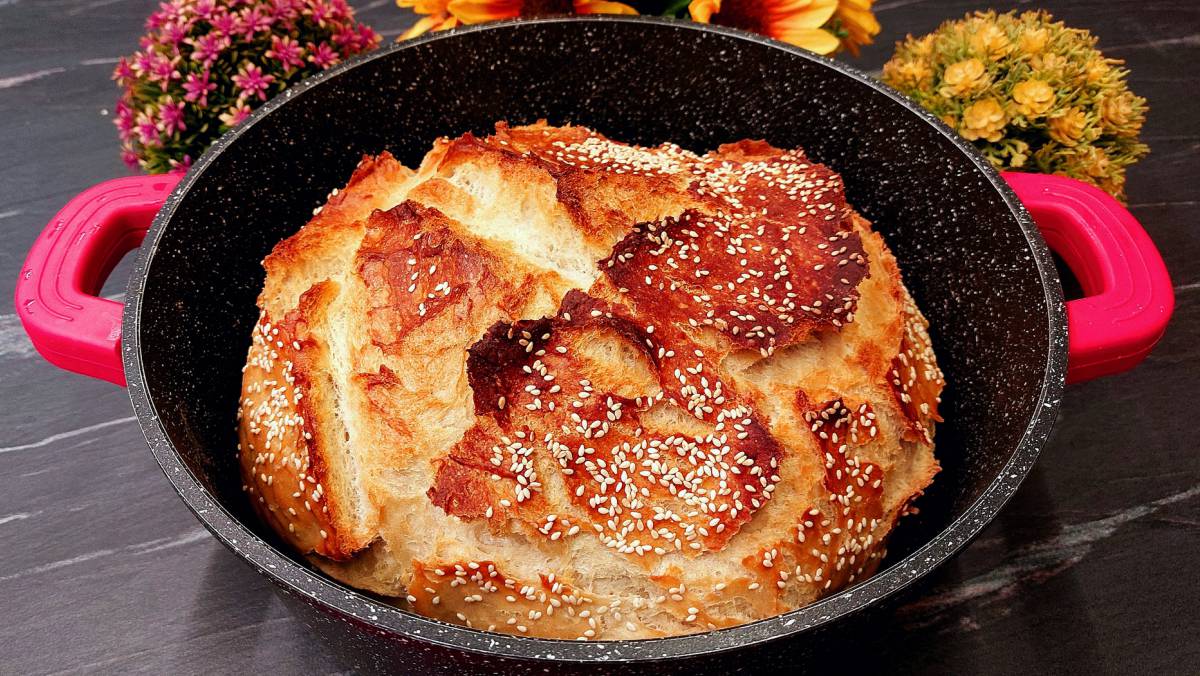
The Dutch oven is the true hero of this recipe. When bread bakes in a professional bakery oven, steam is injected into the chamber during the first phase of baking. That steam keeps the surface of the dough moist and pliable, allowing it to expand fully before the crust sets – which is what creates that dramatic oven spring and the characteristic crackled crust.
A home oven can’t inject steam, but a heavy, lidded pot can trap the steam released by the dough itself, creating the same effect in miniature. The result is a crust that blisters, cracks, and crisps up beautifully – something that’s almost impossible to achieve when baking a loaf directly on a baking sheet.
If you don’t own a Dutch oven, a clay roaster, a deep casserole dish with an oven-safe lid, or even a large cast iron skillet covered with foil can work in a pinch. The key is a tight-fitting lid and a vessel that can withstand high oven temperatures.
Tips for the Perfect Loaf Every Time
A few details make a big difference with this recipe. First, make sure your water is genuinely lukewarm – around 100-110°F (38-43°C). Water that’s too cold will slow the yeast down significantly; water that’s too hot will kill it. If you don’t have a thermometer, aim for the temperature of a warm (not hot) bath.
Second, don’t skip preheating the Dutch oven. Placing the cold dough into a blazing hot pot gives it an immediate burst of heat that triggers rapid oven spring. It’s the difference between a flat, dense loaf and a dramatically domed one.
Finally, resist the urge to skip the cooling step. Cutting into a hot loaf releases the steam trapped inside and can make the crumb gummy. Let it cool on a wire rack for at least 30-45 minutes before slicing – it’s worth the wait.
Serving and Storing Your Homemade Bread
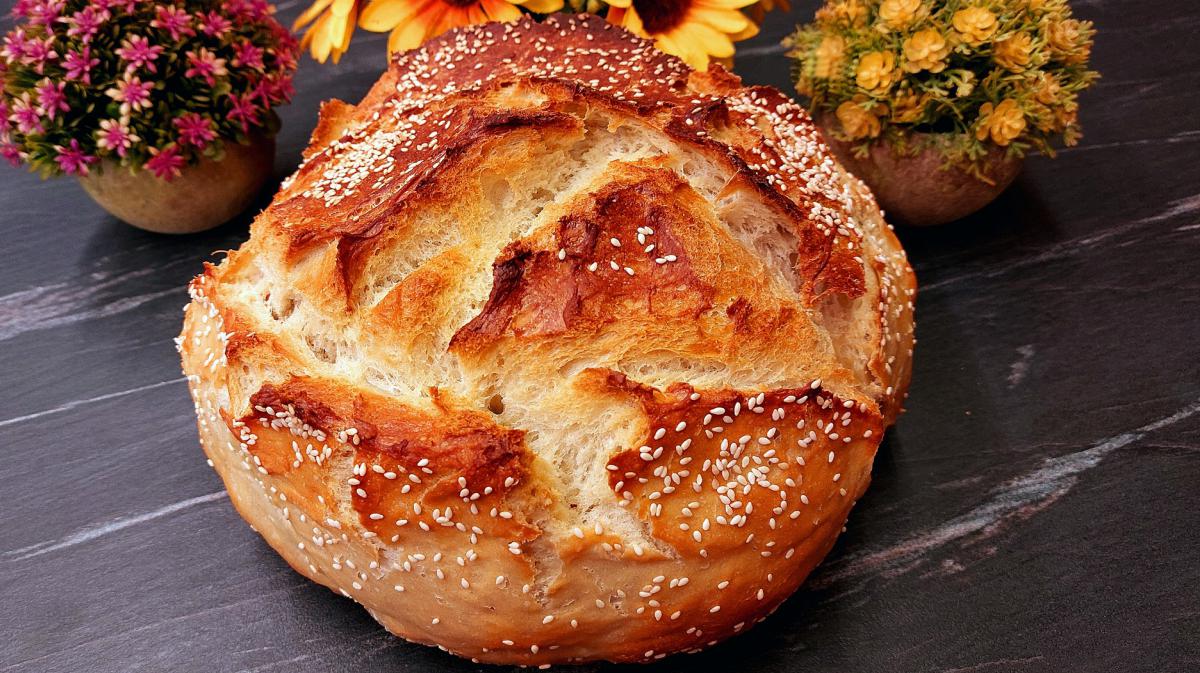
This bread is extraordinary on its own with just a little good butter or olive oil, but it also makes exceptional toast, sandwich bread, or a companion for soups and stews. The sesame topping adds a subtle nutty flavor and a beautiful visual finish – highly recommended if you’re serving it to guests.
Store the cooled loaf wrapped in a clean kitchen towel at room temperature for up to 3 days. For longer storage, slice the entire loaf and freeze it in a zip-lock bag – pull out slices as needed and toast directly from frozen. The flavor holds up beautifully.
A Loaf Worth Making Every Week
Once you bake this bread for the first time and see how simple it truly is, weekly homemade bread becomes an entirely realistic habit. The active time is under 15 minutes – the oven does the rest. It’s economical, it’s satisfying, and it’s the kind of recipe that makes you genuinely proud of what you’ve made. Four ingredients. One pot. One perfect loaf.